Commit DB Documentation
Connect to your databases
Commit DB allows two distinct types of connection:
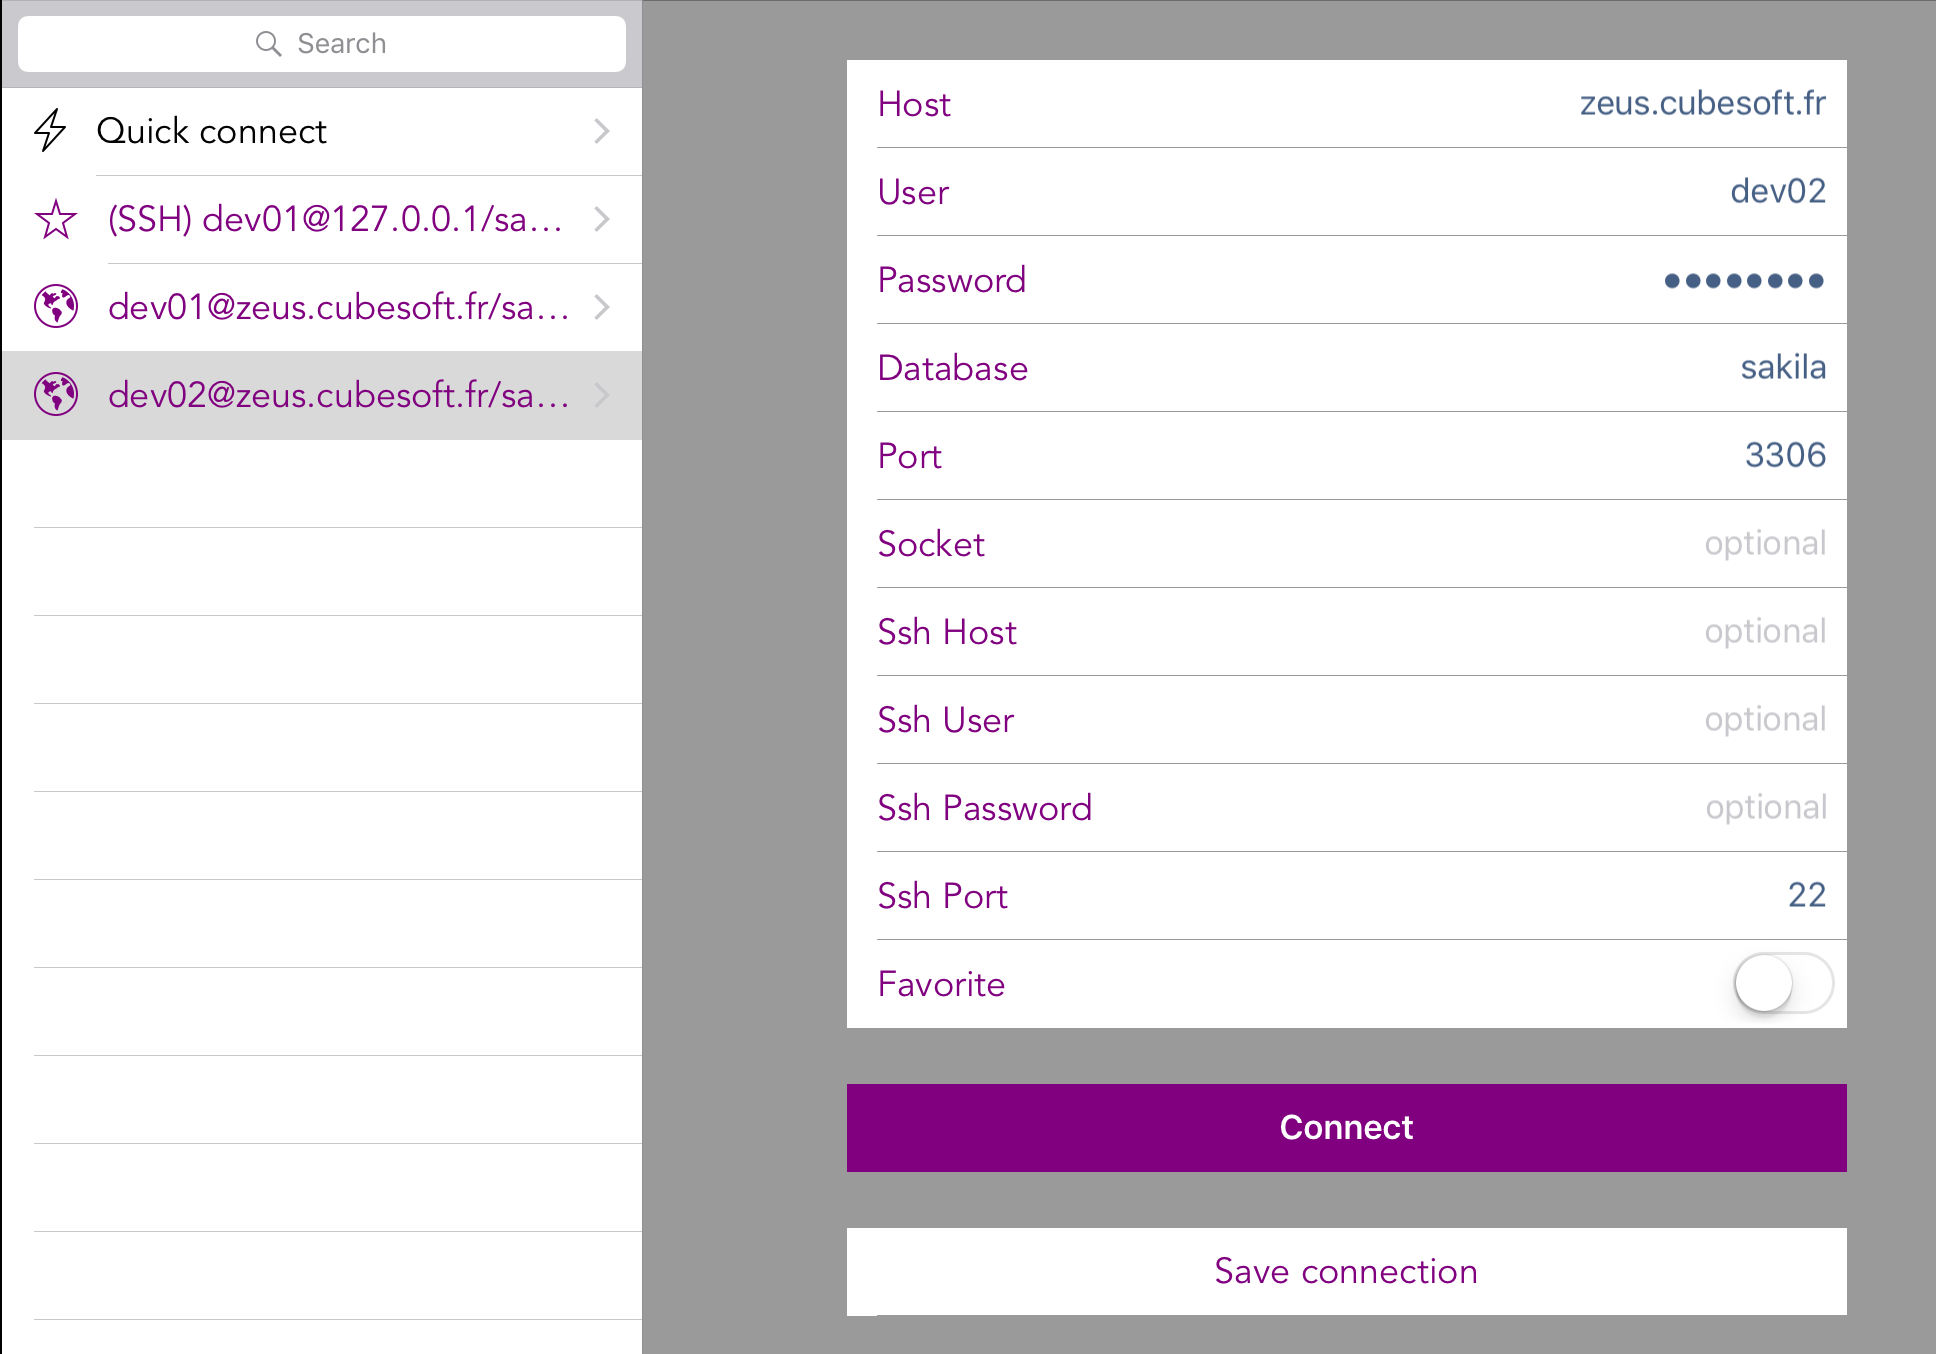
MySQL Direct connection
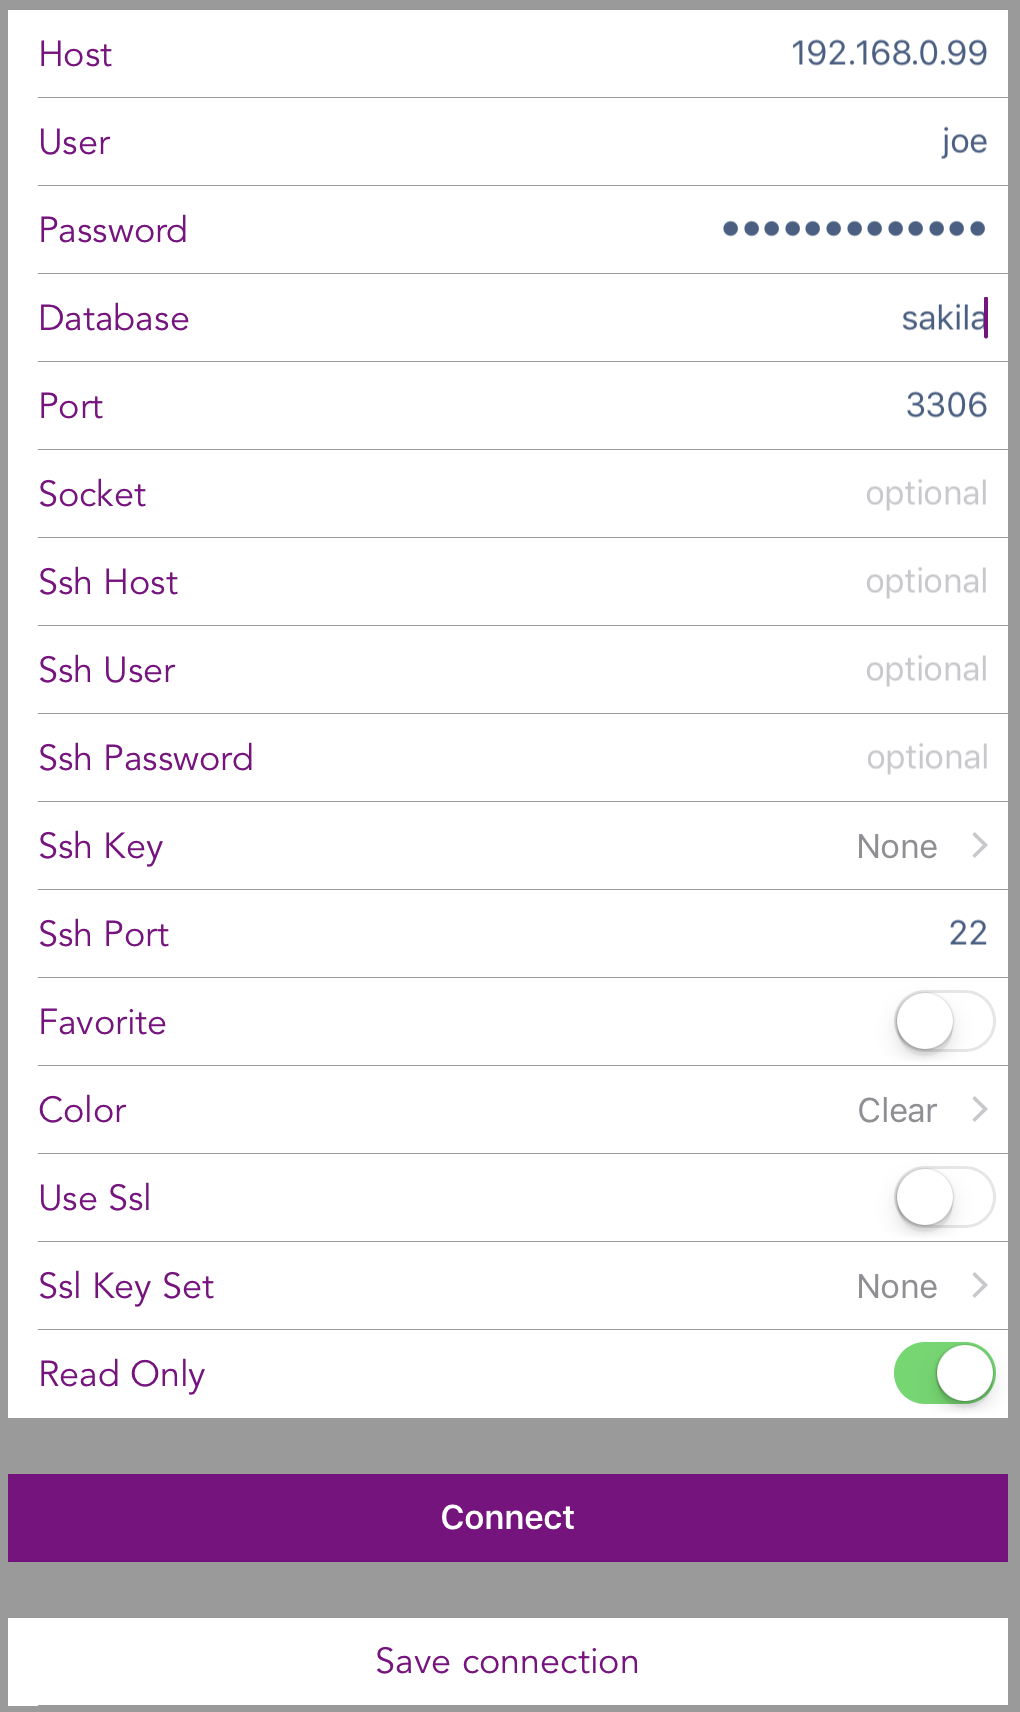
- Host is either the IP address (V4 or V6) of your MySQL server or its fully qualified domain name (ie: server01.mycompany.com)
- User is your MySQL user
- Password is your MySQL user’s password
- Database is the database you want to connect directly after the connection. This setting is optional and the database can be changed at anytime without reconnecting
- Port is your MySQL server’s port
- Socket should be filled only if your MySQL server is using a socket
- Favorite allows you to have this connection appearing at the top of your saved connections. If the connection is not saved this setting does not do anything
- Color allows you to choose a color to dinstinguish your connection. This color will appear on the icon in the connections list and in the top left of the screen in the SQL Editor and DB Browser panes
- Read Only allows you to create a read-only session where no object can be created, modified or dropped. It’s also not possible to update / delete / insert rows.
If you want to save this connection you should then tap the “Save connection” button. This will put this connection in your saved connections list.
Then just tap the “Connect” button.
MySQL Connection through a SSH tunnel
- Host should be 127.0.0.1
- Ssh Host is the IP address or FQDN of the SSH server you’re trying to connect through
- Ssh User is the username of the SSH server you’re trying to connect through
- Ssh Password is the password of the SSH user
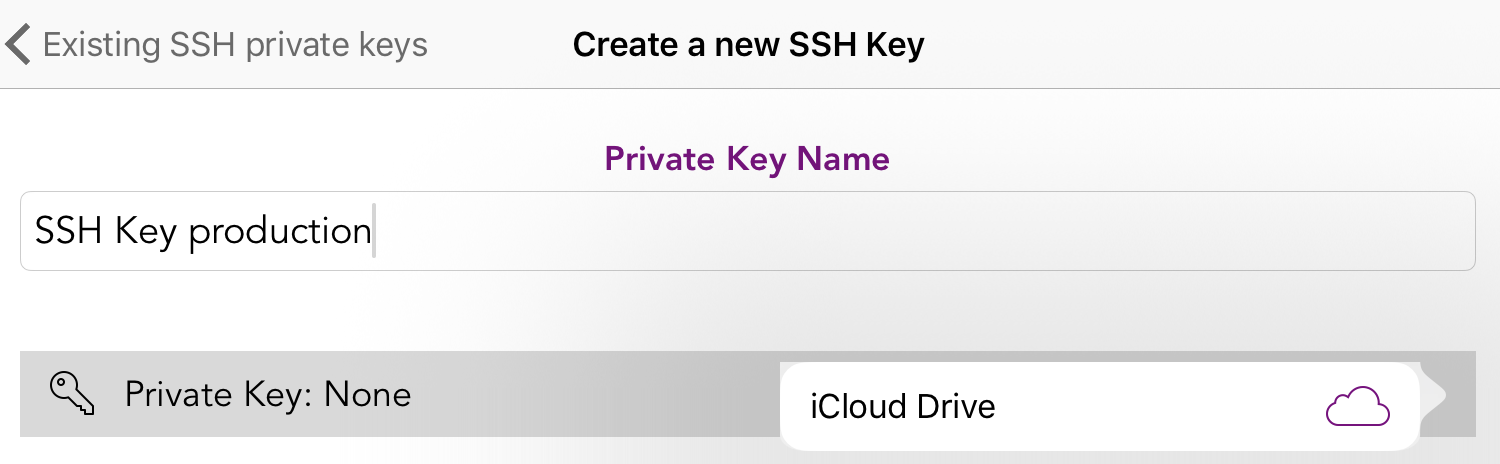
- Ssh Key is the RSA private key used to authenticate the SSH user. Please note that the password and the key fields must not be used at the same time. It’s either one or the other.
- Ssh Port is the port of the SSH server
The SSH keys can be imported by tapping the key icon  . The procedure is the same as the one described for SSL certificates.
All other settings and interactions are the same as in a direct connection scenario.
Securing connection with SSL
- Flip the Use SSL switch to ask Commit to secure your connection with SSL
If you need to provide keys and certificates for your server, tap the lockpad icon  in the top left corner to invoke the KeySets manager.
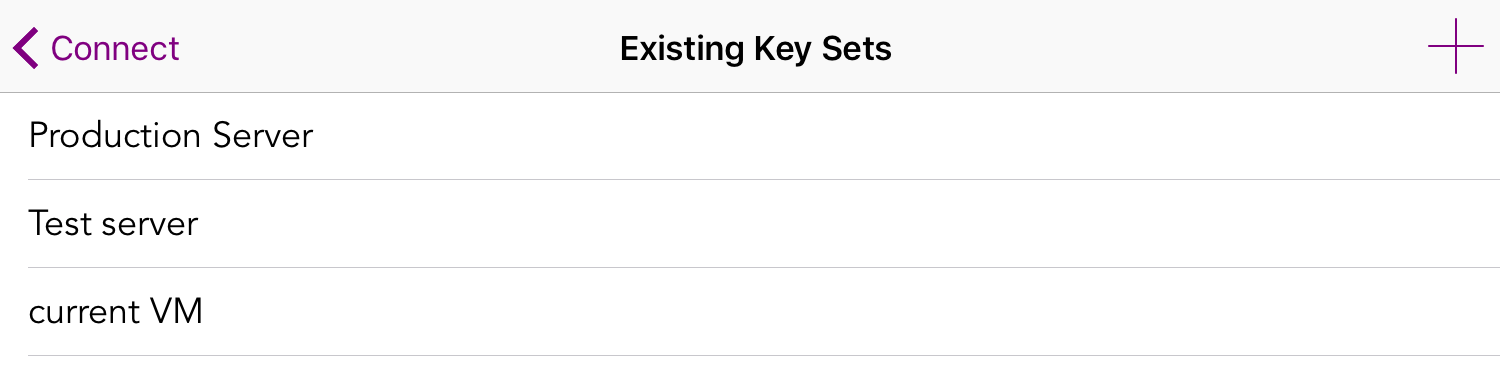
Tap the “+” icon to create a new KeySet or swipe to the left an existing one to delete it.
If you’re logged into iCloud, the KeySets created will be synced between all your connected devices.
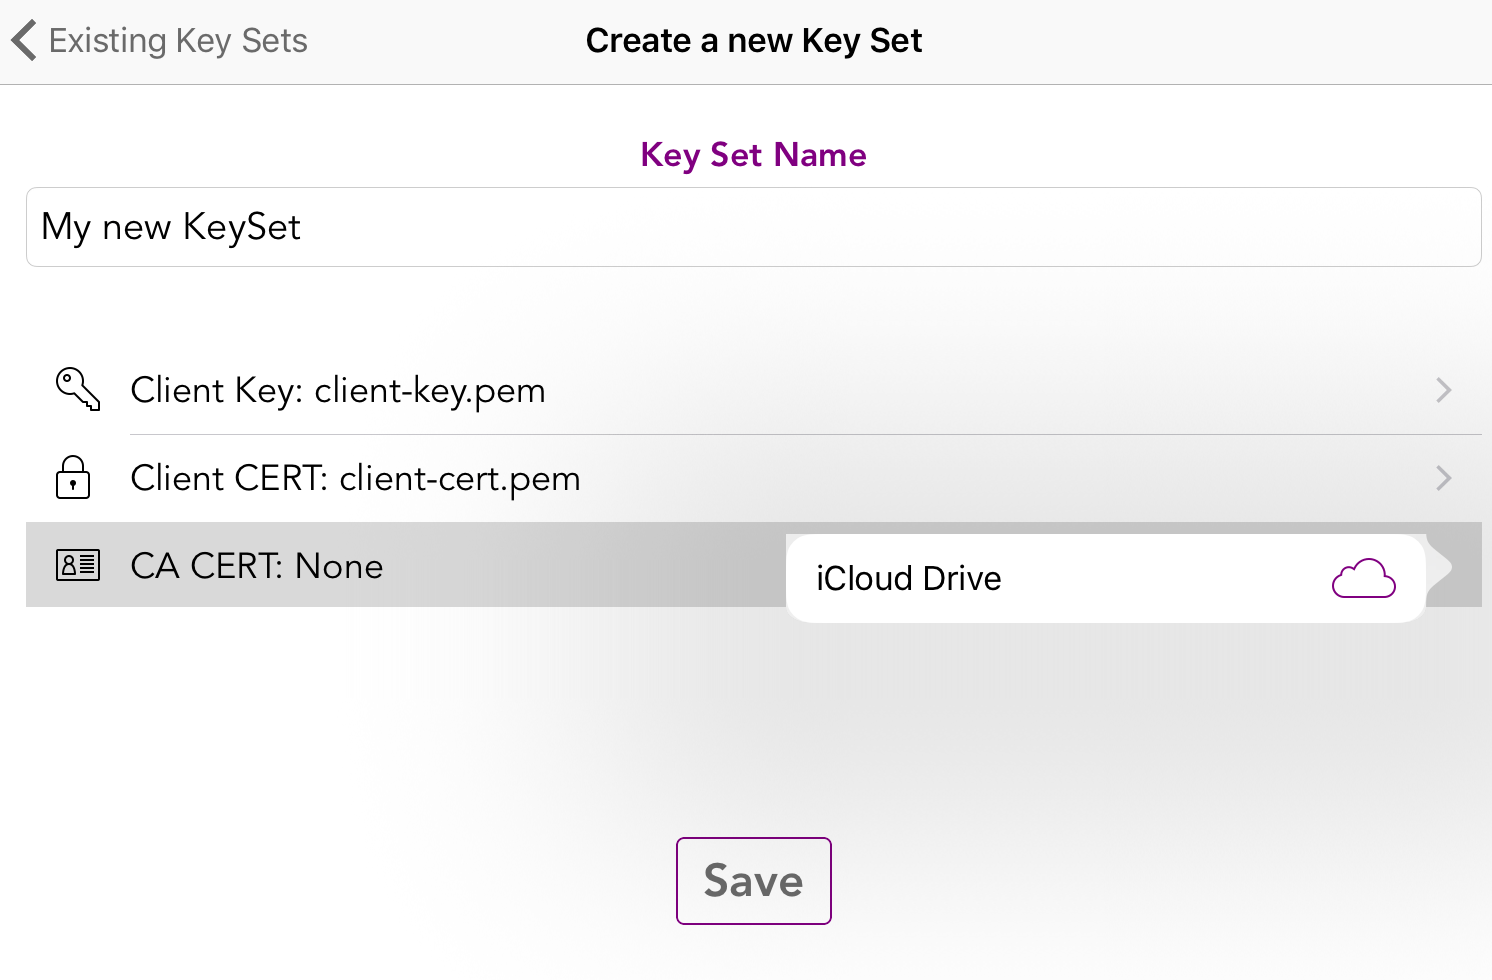
- Enter a unique name for your new KeySet in the Key Set Name field
- Client key : if needed for your configuration, pick a client key PEM file with the iOS document picker by tapping the Client key line
- Client CERT : if needed for your configuration, pick a client certificate PEM file with the iOS document picker by tapping the Client CERT line
- CA CERT : if needed for your configuration, pick a CA certificate PEM file with the iOS document picker by tapping the CA CERT line

You then just have to select your KeySet in the SSL Key Set field of the connection form.
Saved connections
Typing connection information on a handled device is tiresome. To ensure that you do it the least possible amount of time, we included a Saved Connections feature.
Creating a new saved connection
Each time you tap the “Save Connection” button the currently defined connection is saved in the list with a label in the form of:
mysql_user@mysql_host/mysql_database
If your connection uses a SSH tunnel, its description will be prepended by “(SSH) “:
(SSH) mysql_user@mysql_host/mysql_database
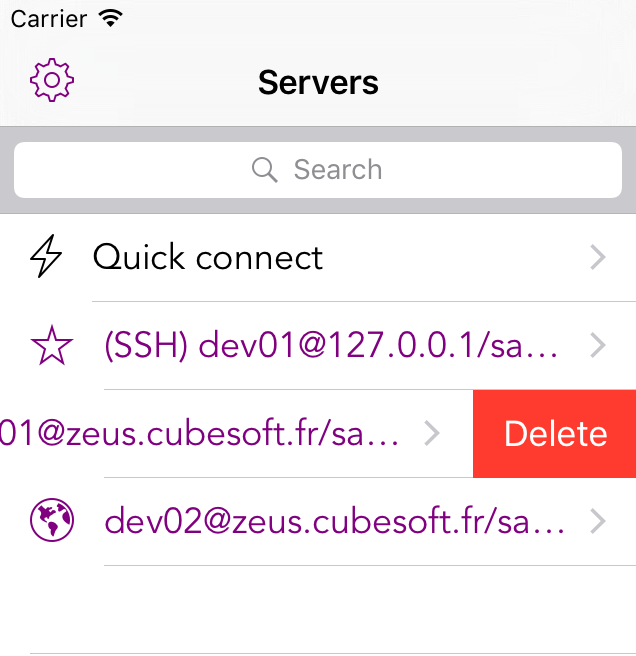
The list of saved connections is accessible from the “Servers” button at the top left of the screen (or by putting your device in landscape)
Deleting an existing saved connection
To delete an existing saved connection, just swipe right on it in the list and confirm by tapping the “Delete” button.
Clearing the connection form
To clear the connection form of all its current values, tap the “Quick Connect” entry in the “Saved Connections” list.
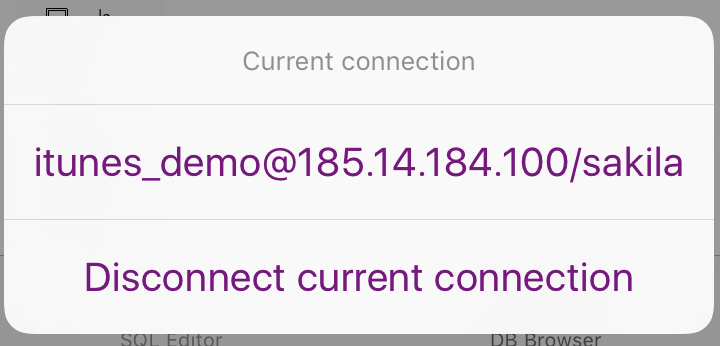
Disconnect your current session
When you have an active connection, this connection will be materialized by a green line in the connections list. You can disconnect the connection by tapping it in the list.
You can also disconnect your current connection by tapping the current connection button and then selecting the “Disconnect current connection”.
Settings
Security settings
Use “Touch ID”
This setting will allow you to protect the access of the app with a touch ID prompt. Of course, this feature will only works if Touch ID is already activated and configured on your device.
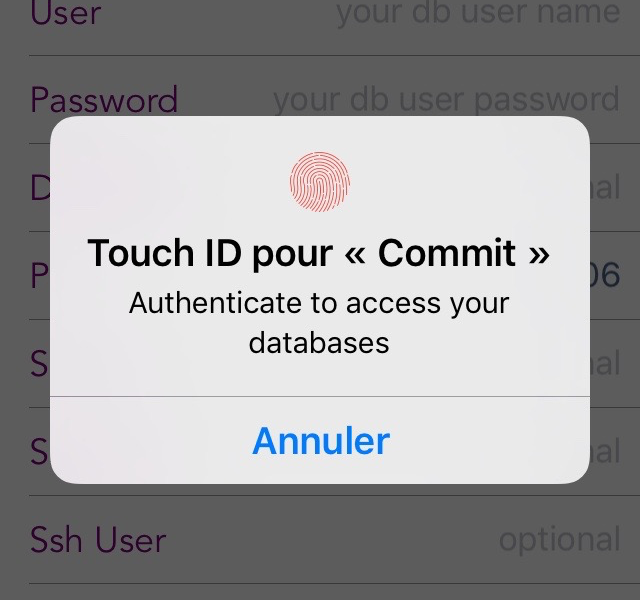
If the authentification fail, you will have to either wait for the app to become inactive or to kill it with the task manager to try again.
Performance settings
Retrieve full dataset
If this setting is turned to “ON” the app will fetch all the rows of any query it executes. The default behaviour is to only fetch the number of rows specified in the “Rows in Dataset” setting.
Turning this setting on may severely affect performances
Rows in Dataset
It’s the number of rows that are retrieved by the app by default. No effect if the “Retreive full dataset” setting is set to “ON”.
Include All Rows In Exports
When you’re exporting a dataset to another app, should all the rows be exported or only the ones currently visible in the app ?
Other settings
Allow screen to go off
If this setting is turned to “OFF” your device screen will never dim and turn off while you’re using the app. This will allow you to perform more easilly long running queries.
SQL Editor
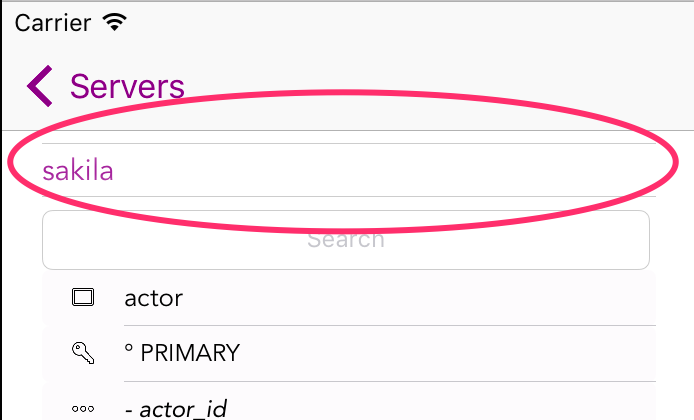
Database selector
The database selector let’s you choose the database you’re working on. Just roll your finger on the list to change the current database.
Db objects browser
The “Db objects browser” let you view the names of the following objects present in your database:
- Tables
- Views
- Fields
- Indexes
- Constraints
You can filter the objects presented by searching their name with the help of the “search” field at the top.
Tapping on an object of the list will insert its name in the code editor at the current insertion point. This is intended to speed up the typing of your queries in the editor.
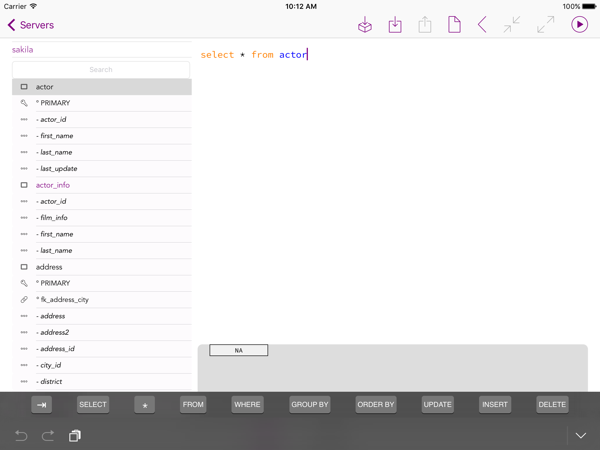
Code editor
The “Code Editor” let’s you type and execute your queries. To start typing, just tap the “Tap to enter query” message.
You can have as many queries as you like in the editor at the same time. You don’t need to end them by a semi-column (“;”) to separate your different queries. You only need to have at least one blank line between them.
Once your query has been executed, your results will be displayed in a table view just beneath the code editor. You can swipe up/down and left/right on the table view to scroll the results.
If you have not modified the “Retrieve full dataset” setting you may have only a subset of the full resultset in the table view. If you want to see the full resultset you have to use the “Show all results” button.
You can sort the resulset by tapping the column name. On first tap, the dataset is sorted in an ascending order. On the second tap, the dataset is sorted in a descending order.
Actions
Start transaction
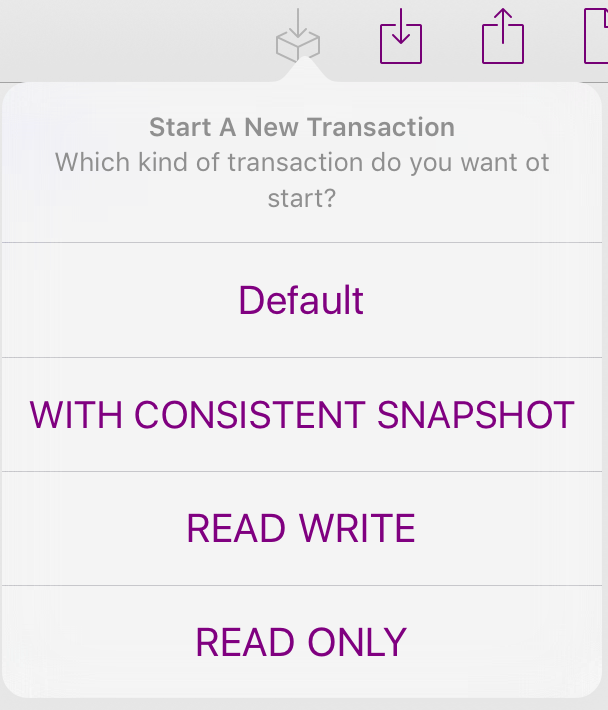
By tapping the “Start transaction” button  you will be offered the choice of the type of transaction you wish to start. Once you have selected a type of transaction, the “Start transaction” button will be replaced by a “Commit”
  and a “Rollback”
  buttons.
Import code
The “Import code” button  will let you import a text file from any storage provider app installed on your device (iCloud, Dropbox, OneDrive, Google Drive … etc.).
Export file
The “Export file” button  will let you choose between three different actions:
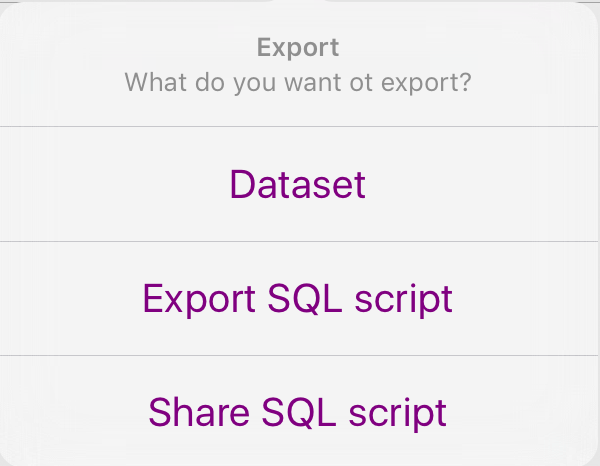
- “Dataset” : to export a CSV or JSON file of the current resultset present in the table view
- “Export SQL script” : to export the queries present in the code editor to any storage provider (iCloud, Dropbox, OneDrive, Google Drive … etc.) present on your device
- “Share SQL script” : to open the iOS standard share sheet to share the queries present in the code editor
Clear code editor
The “Clear editor” button  will remove all the queries currently in the code editor.
Hide / show DB objects
The “Hide DB objects” button  will hide the DB objects browser from view. The “Show DB objects” button
  will restore it into view.
Hide results
The “Hide results” button  will hide the current resultset to leave a maximum of screen space to the code editor.
Show all results
The “Show all results” button  will transition you to a paginated view of all the rows in your current resultset.
Run query
The “Run query” button  will execute the currently selected query.
Keyboard shortcuts
- ⌘ + R : run the current query
- ⌘ + N : clear the code editor
- ⌘ + G : show full resultset
- ⇧ + ⌘ + N : start a new transaction
DB Browser tab
The “DB Browser” let you see and inspect all the objects in your database.
DB Objects browser
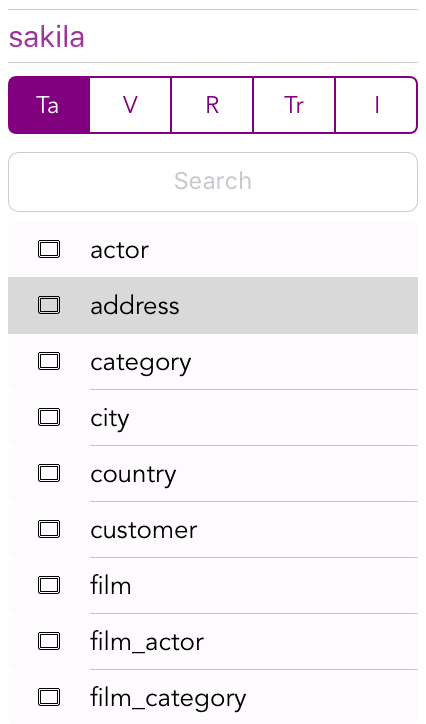
The “DB Objects browser” works mostly like the SQL editor one’s. But you can here choose the typez of objects you’re interrested in inspecting:
- “Ta” : Tables
- “V” : Views
- “R” : Routines (functions and stored procedures)
- “Tr” : Triggers
- “I” : Indexes and constraints
Selecting one of the item in the list will load its information in the data grid.
Data Grid
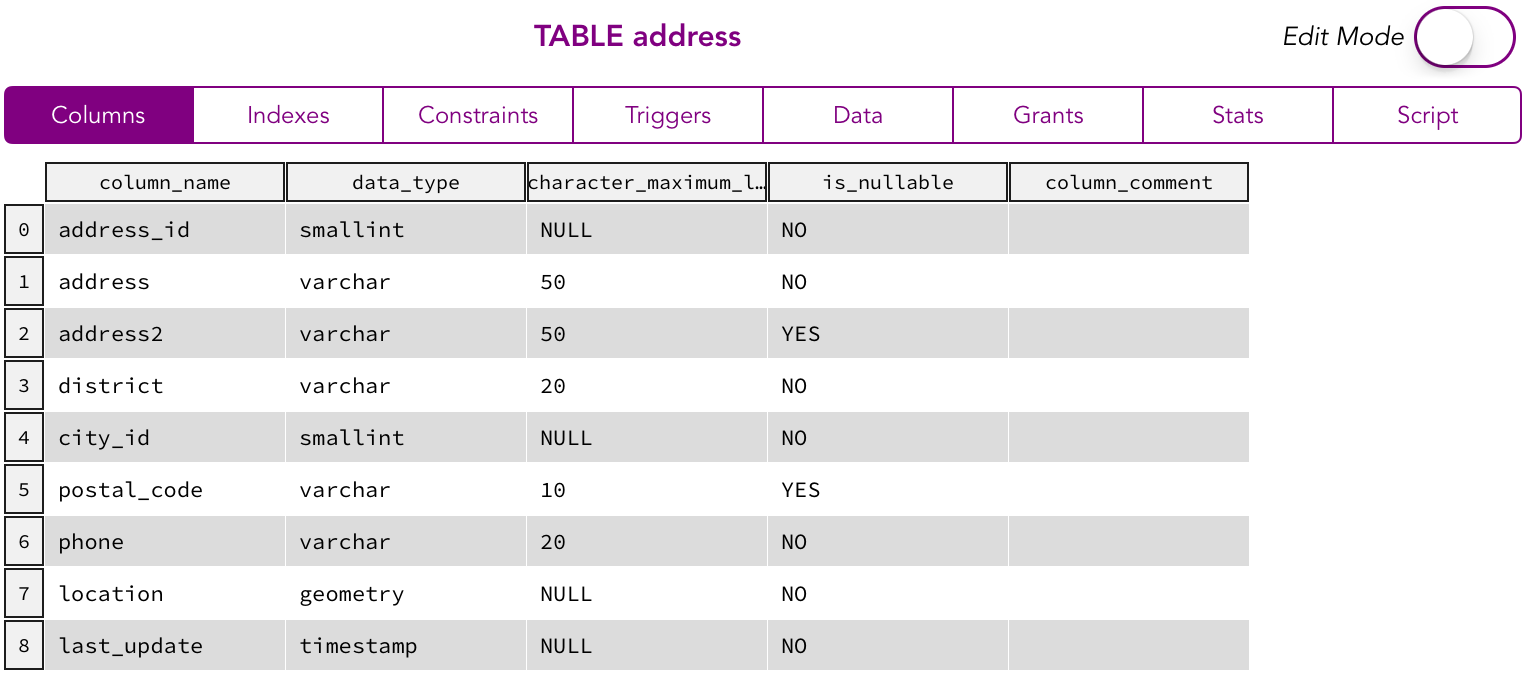
The data grid has the following subtabs :
- “Columns” : let you see the columns of a table / view, the parameters of a routine, the event on which occurs a trigger or the columns of an index / constraint
- “Indexes” : list the indexes of a table
- “Constraints” : list the constraints of a table
- “Triggers” : list the triggers of a table
- “Data” : show the data of a table / view, just as a “select * from table_name” would
- “Grants” : show the grants of a table
- “Stats” : show the stats of a table
- “Script” : show thez creation script of any object
Edit Mode
Turning the “Edit Mode” ON will allow you to drop objects, add new lines in tables or to modify data from tables.
Drop object
To drop a linked object, you just have to tap its line in the data view. A dialog will ask you confirmation before proceding.
Insert new line in table
Select the name of the table in which you want to insert a new row and select the Data tab. The ”+” will then activate. Tap it to insert a new row.
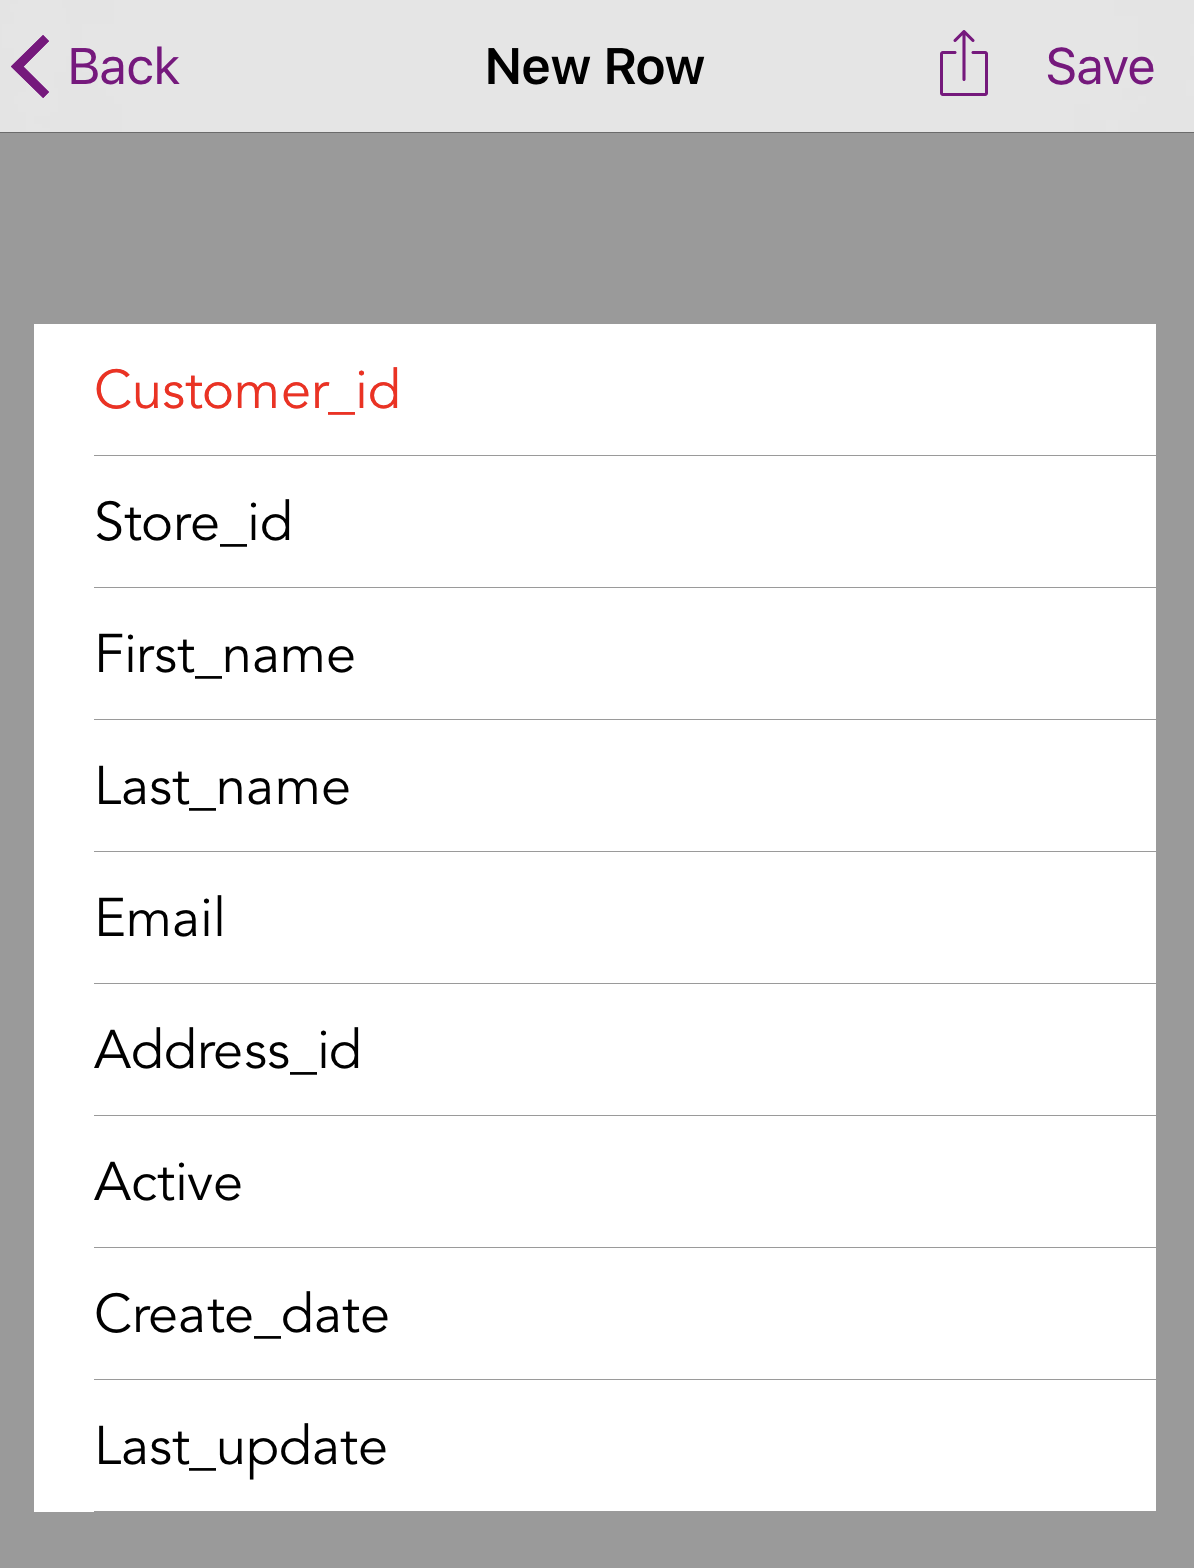
Enter the value you want for each field and then tap “Save” to save the row or “< Back” to come back to the previous screen without saving.
The primary key fields, if any, will appear in red.
Edit row data
To enter the edit mode, tap the line number of the row you want to edit. The app will ask you if you want to edit or delete the row. Select “EDIT” to proceed to the edit screen.
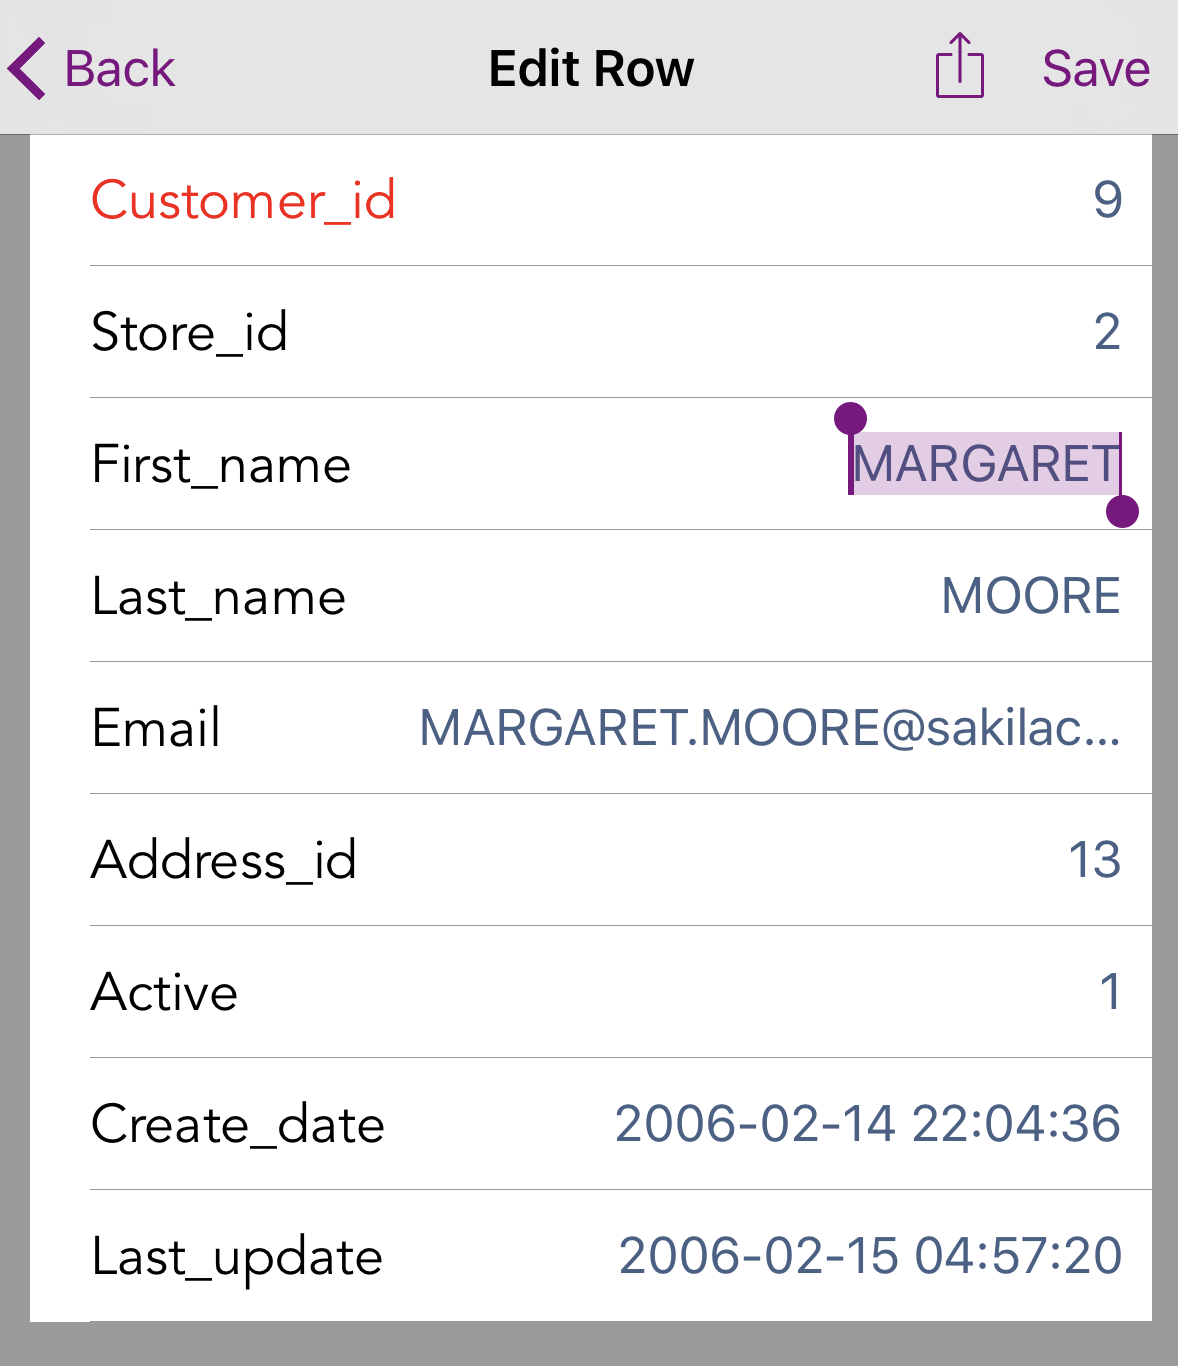
You can then modify the fields you want to change and either “Save” or ”< Back”. Please note that the constraints existing on your table are not checked at input time but only when you will try to save the row. If the constraints are violated an error message will appear and no change will have been written to the database.
Delete a row from a table
To delete a line of data, you have to tap the line number on the left of the to get the confirmation dialog. If you tap a data cell, you will be taken to a detail view of the cell where you can change its value (only if “Edit Mode” is ON).
Actions
Refresh data
Tapping the “Refresh” button  will refresh the current pane of the data view.
Export data
The “Export” button will let you export a CSV or JSON file of the current pane of the data view.
Hide / show DB objects
The “Hide DB objects” button will hide the DB objects browser from view. The “Show DB objects” button will restore it into view.
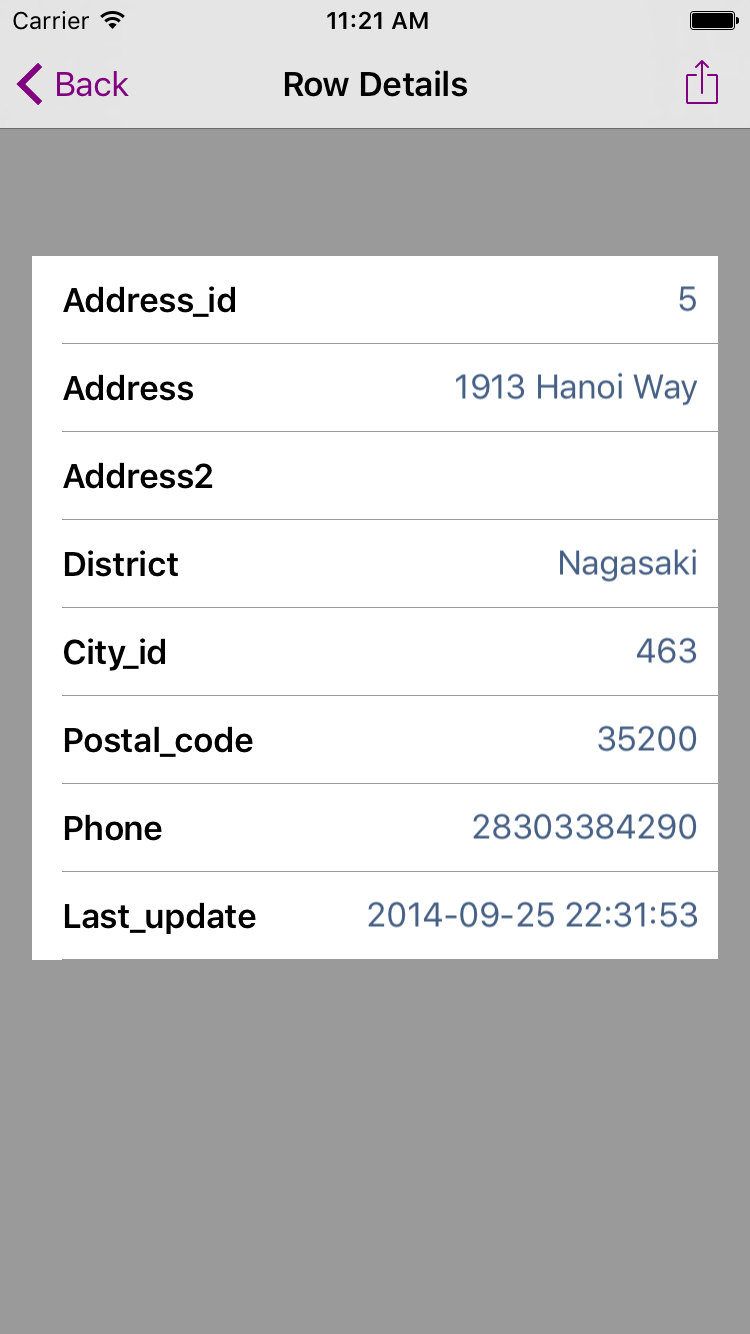
Data row details
You can get a detailed view of all the fields in a data row by tapping it’s line number while you’re in read-only mode.
You will then see a scrollable page with one field per line.